Overland Engineering and Logistics Co
Get Consultation
+1(314)377-4890
- Need Free Consultation ?

Get Consultation
+1(314)377-4890

Case study
The thread before and after plating.
Threads play a crucial role in assembling and securing numerous items in our daily lives. In precision industries, the accuracy of threads is essential for the smooth assembly of components, necessitating stringent manufacturing and inspection processes. Previously, we published a detailed article on thread manufacturing, providing various methods based on material, quantity, and precision requirements. In this article, we will also discuss how to manufacture pre-plated threads.
How to inspect the threads
You can select the most suitable methods for thread manufacturing based on your needs, and similarly, you can customize thread inspection according to precision, functionality, and other requirements. Generally, if thread tolerance and strength are not primary concerns, ready-made bolts and nuts can be used for shop-floor inspections. These inspections are passed when the nuts and bolts fit together successfully. However, if tolerance and thread strength are critical, advanced inspection techniques such as thread gauges, the 3-wire method, micrometers, vernier calipers, projectors, and coordinate measuring machines should be employed for precise measurements. For a basic introduction to thread inspections, refer to the previous case study by Apporo.
In the highly demanding precision industry, every aspect from design, materials, manufacturing, and post-manufacturing processes, to even packaging, is carefully considered to ensure product quality and functionality during mass production. Take the design approach of one of Apporo’s clients, a Swiss dental equipment supplier, as an example. Their handheld dental equipment must be comfortable for long-term use, prevent occupational injuries, and conform to ergonomic standards. Therefore, details like size and center of weight design are given utmost importance.
What do we need to know about pre-plated parts?
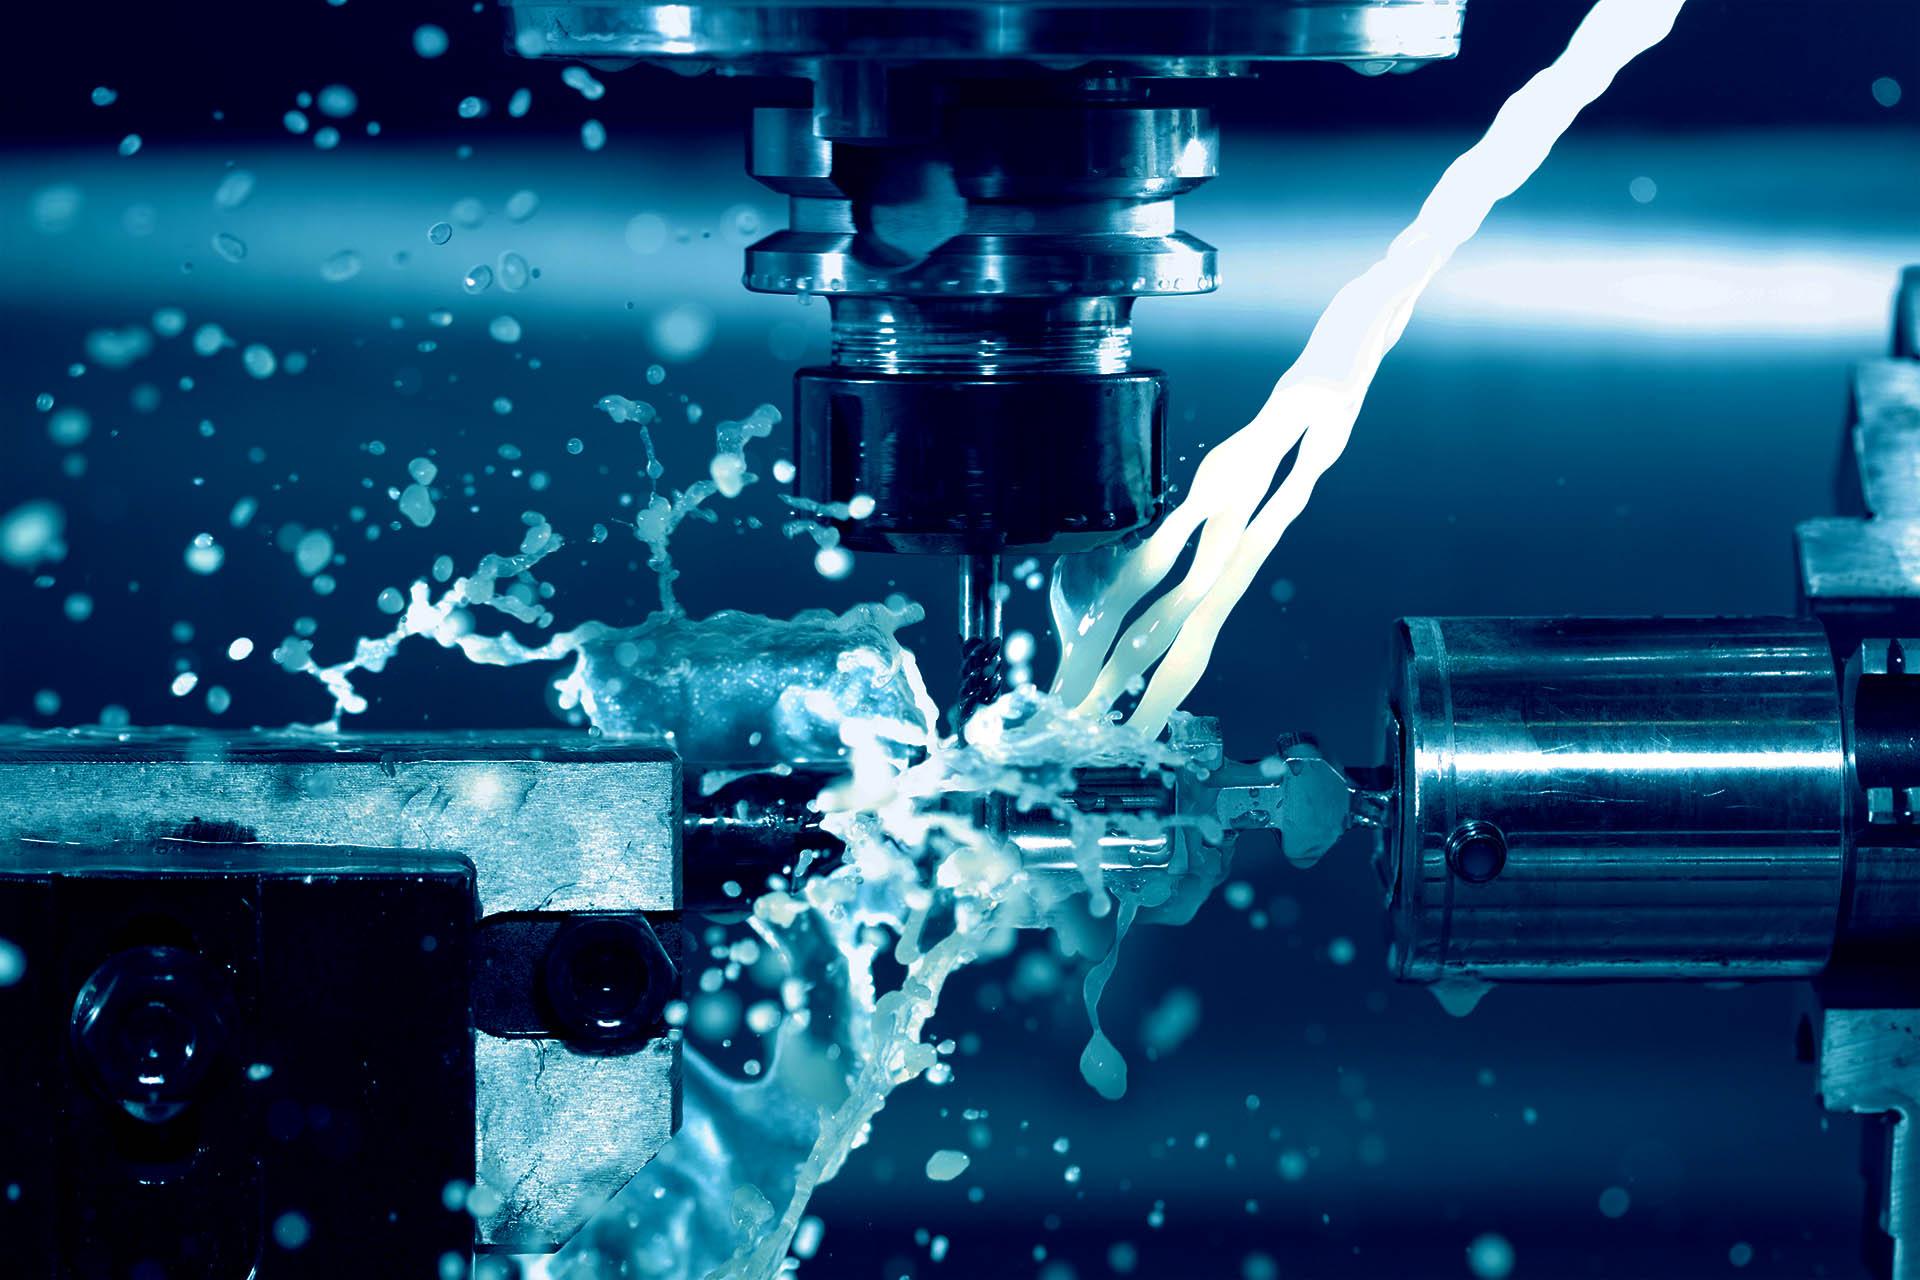
One of our CNC machining services focuses on supplying medical-grade stainless steel and brass components manufactured on CNC lathes. Additionally, if brass components require cosmetic enhancements or anti-corrosion properties, nickel or chrome plating is applied as a surface treatment. Generally, the film thickness of the plating is positively correlated with its anti-corrosion capability. However, for dental equipment, anti-corrosion is not the primary concern. Instead, the critical factor is ensuring that the dimensions of the components remain within tolerance after plating to guarantee proper assembly and functionality.
For example, after applying a 1-3um nickel plating, the outside diameter (OD) of a cylindrical brass component and its tolerance should be 9.50 +/- 0.02mm. In practice, we machine OD 10.0mm round rod materials down to OD 9.48-9.50mm. With nickel plating requiring 1-3um thickness, the OD of the plated products will be within the 9.50 +/- 0.02mm range.

Overland Engineering and Logistics Co., Ltd. was established in 2011. With over 13 years of overseas experience, we provide end-to-end solutions from inception to completion.
Hotline : +1 (314)377-4890
Phone
+1 (314)377-4890
oel@overlandind.com
Location
4338 Bridgeton Industrial Drive Bridgeton MO 63044 US
Quick Links
Customer Service
Subscribe Newsletter
Copyright © Overland 2024. All rights reserved.

